
So, as long as I am working on my new children’s book, I thought it might be fun to sort of show you what exactly it is I am doing to turn an old comic strip I drew way back when I was young into a book suitable for small kids. This is going to be sort of a Photoshop tutorial but hopefully it will end up being a little more interesting than that…
We will just have to see what the crack squirrels that live in my head come up with.
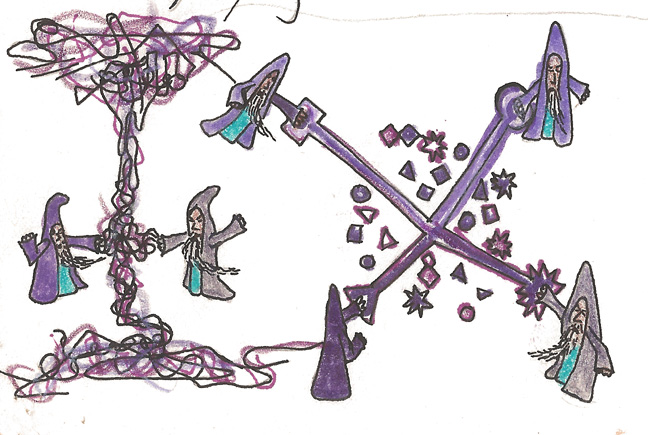
As you may recall, I am using the art from that original comic, changing the story, and adding some new artwork in the form of some watercolor paintings I did while visiting my mom recently.
 So far, I am spending most of my time scanning the original comic in 300 dpi… (which, I think, stands for dots per inch)… so that I have these huge versions of small pictures to work on. Also, that is the resolution that my self-publishing firm recommends. Remember, I am going to try to send this book in without the help of my tech-support daughter.
 The first step is using the Photoshop paintbrush tool to clean up all the background text and smudges.
 This is fairly easy and straightforward at first. I can use a big setting on the brush and just work pretty fast.
 But of course nothing is ever quite that simple…
 I can’t leave any left over dots and bits of old… whatever… in the images, or when I select them later to put a background behind them, I will have to clean all that up anyway. Also, these images are really quite small…
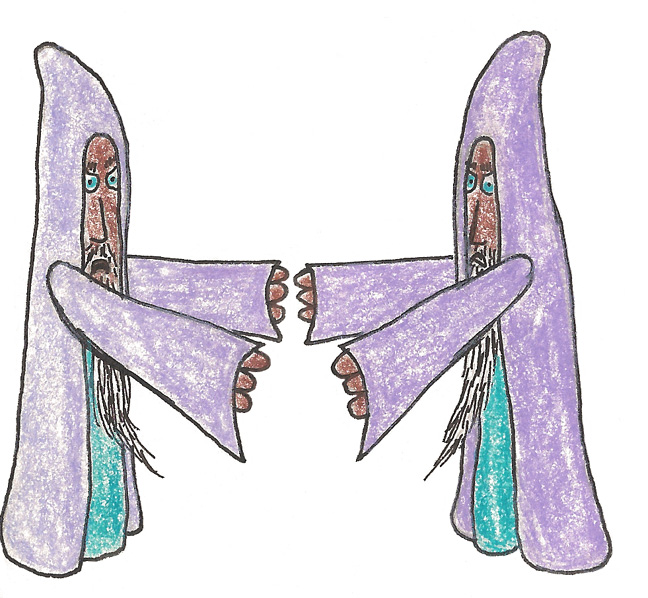
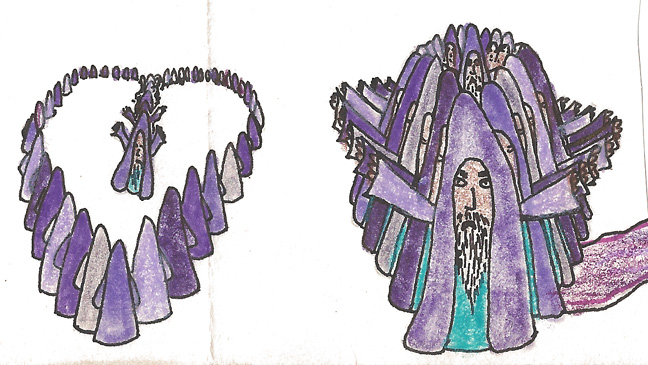
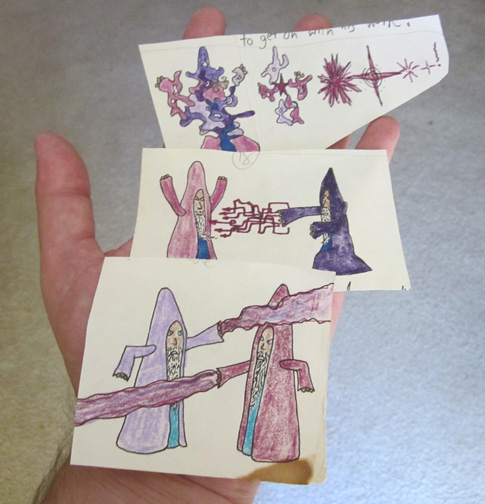 They are a combination of watercolor and colored pencil with black ink outlines. When you look at them in the original, they look fairly clean. And yes, I did cut up and destroy the original 6 page comic to do this. It just fit on the scanner better that way.
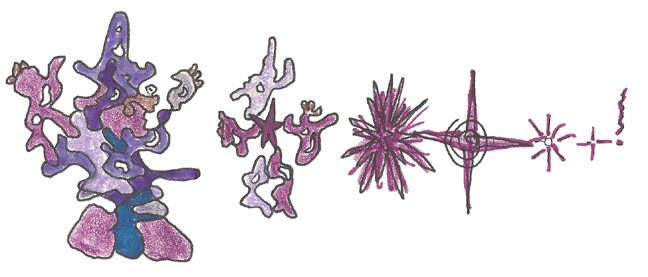 But it is when you scan the images at high-resolution and then zoom in that you begin to see how much work there is to do.
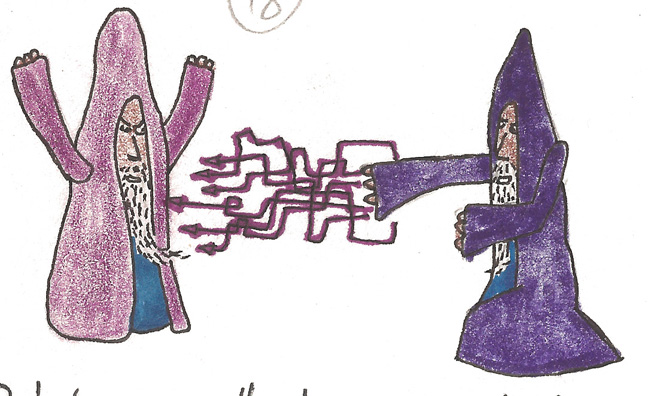
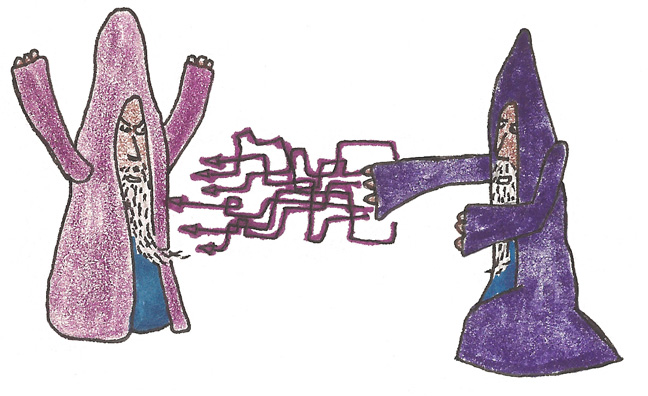
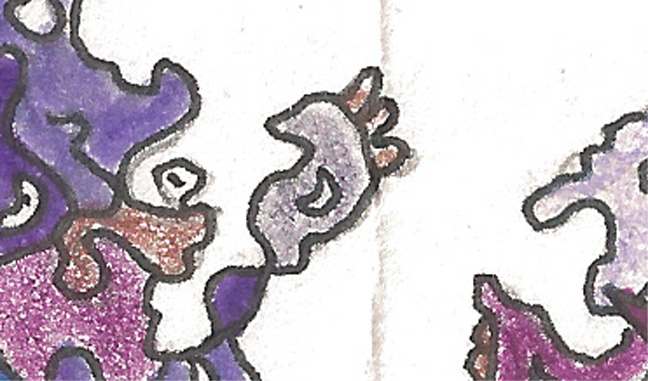 Yes, that is indeed the floating eyeball of a wizard that is being banished back to the other realm… Zoomed in this close you can see that I have now changed my brush tool down to a very small… sometimes just one pixel small… size. Then I have to get rid of all those old pencil lines and smudges and bits of colored pencil that escaped to outside the lines.
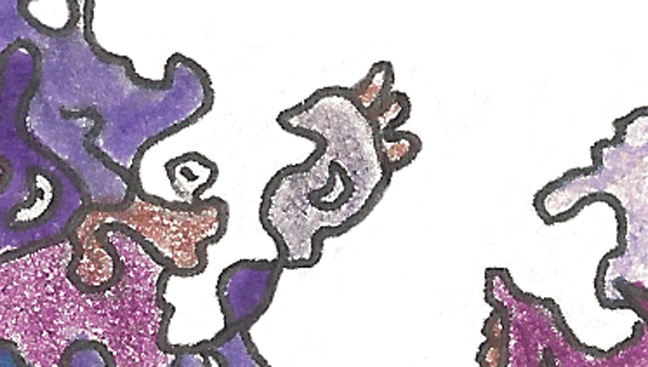 That is a good start, but I have to go all around the outside of every part of every one of those pictures zoomed in really close, covering mistakes with magic white paint. Next I have to complete the process… of this first stage… by going around and darkening the outer ink lines… or thinning them… or getting rid of paint or colored pencil that covers them…
I hope you come back for that.


I’m in… sounds interesting, but I love the colours. And can only imagine how much work this all is… and I have tremendous respect for people who put in such work into their craft.
which craft? ha, see what I did there?
I often try not to look…
sigh
I’ve done something similar to this with GIMP. It’s painstaking work.
eyewatering